C1200 Camera Adjustment
With the development of the fine pixel pitch market, there are two new packaging processes, which are COB and four-in-one. Smaller pixel pitch and newer packaging processes, which require more powerful calibration solutions to bring the ultimate visual effect. Caliris is NovaStar’s latest calibration technology. It is intelligent, fast and has powerful calibration effect.
C1200 is a scientific level camera with the function of high-precision acquisition, more accurate data acquisition and better calibration effect. In particular, XYZ color filters in the camera conforms to the international CIE standard, allowing the camera to capture more accurate colors.
3.1Camera Parameter Adjustment Page
3.1.1Connect C1200 Camera
a.Fix the camera to tripod.
Figure3-1 Camera Setting
b.Take off lens cover.
c.Connect power to camera.
d.Connect C1200 and calibration PC with data cable.
e.Click Connect when green indicator solid on.

Figure3-2 Camera Setting
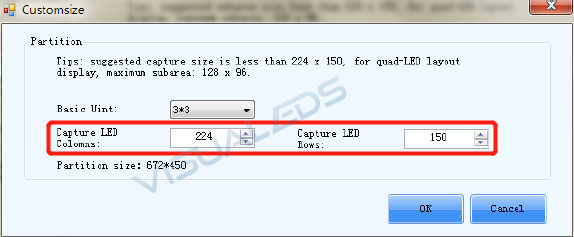
Choose either Recommend or Customize, set capture LED Columns and Rows to 384*256, when choose customize.
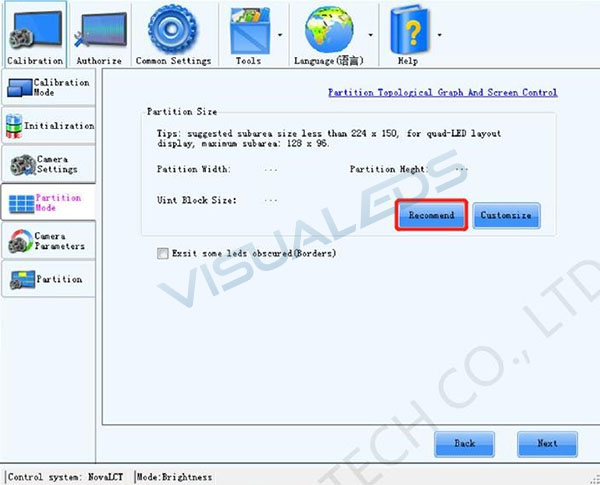
Figure3-3 Recommend partition
3.1.3Saturation Adjustment Page
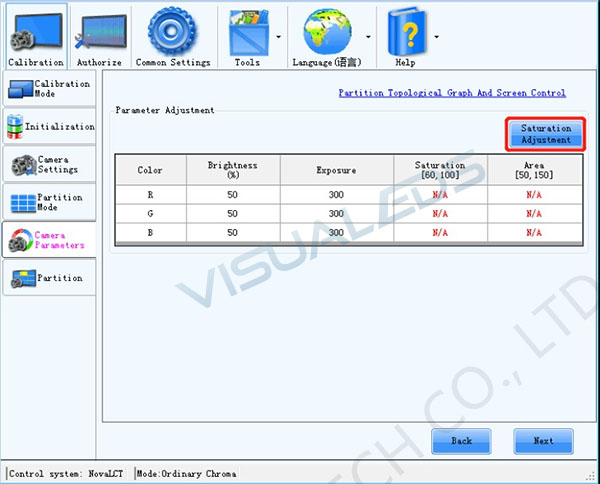
Select one of the partitions (Center partition is recommended), click Saturation Adjustment to go to Saturation adjustment page.
3.2Camera Parameter Adjustment
3.2.1Partition Image Size Adjustment
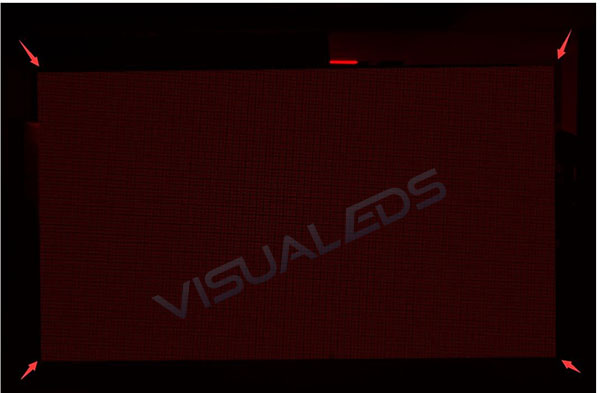
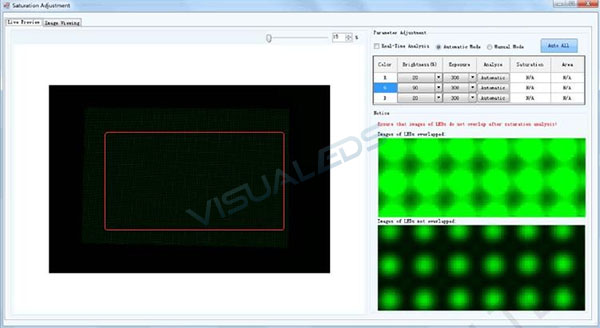
Aim the lens at the selected partition, adjust the tripod’s three-way knob and zoom ring so that the partition is larger than the red box on the preview box and the left and right edges of the imaging distance of the partition leave about 1/10 of the length or width of the preview box, as shown in the figure below. If the partition image is too dark or too bright, the aperture ring, brightness, and the exposure time can be adjusted, so that the partition image in the preview box can be easily observed.
3.2.2Camera Aperture Ring Initilization
3.2.2.1Determine the maximum
Find out the maximum aperture: Turn the aperture ring to find the maximum calibration value that the aperture can be adjusted to, denoting as A.
3.2.2.2Camera Aperture Ring Initilization
When we do the test, we can easily find out the situation below.
a.The wider the aperture, the smaller Area value, it is hard to adjust to the normal value.
b.When set small aperture, the Area value is easy to adjust to normal. However, the aperture seriously reduces the amount of light. Leading to low saturation and difficult to adjust to the normal value.
c.The farther away the partition is, the darker the image on the camera, and the lower the saturation. Larger apertures are needed to increase image saturation.
As a matter of experience, the initial value of camera aperture for find pixel pitch screen calibration is recommended as: the distance between objects is about 8 meters, and the initial value of camera aperture ring is recommended as “A-2.5”. The object distance is about 5 meters, and the initial aperture value of camera is recommended as “A-3.5”. The object distance is about 3 meters. The initial aperture of the camera is recommended as “A-4.5”.
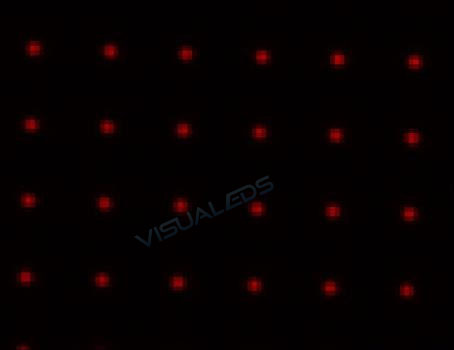
Adjust the brightness and exposure time to normalize saturation and observe the Area value.
a.If Area value is in normal range, the adjustment shall be terminated.
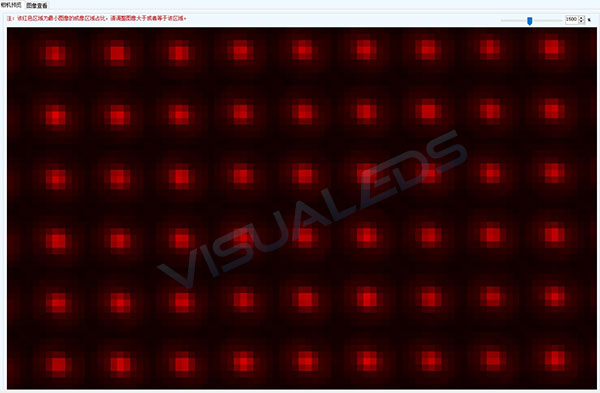
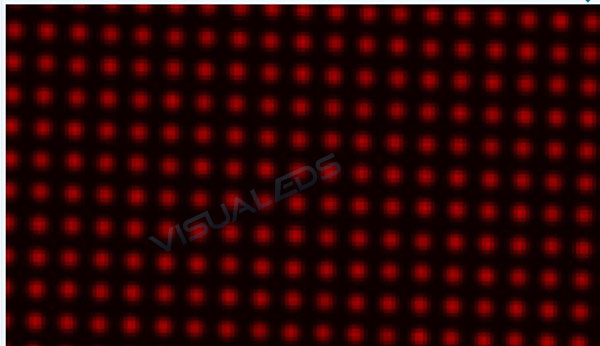
b.If the Area value is too small, adjust the focus ring to make the LED larger (It is easier to adjust the LED to the larger direction according to the experience of micro focal value). But the LED should not be overlapped (as shown in Figure 3-9, 3-10, 3-11), and the saturation analysis should be normal to observe whether the Area value is normal. Adjust the Area value several times to make it normal. Zoom out the preview area to 15%, and then enlarge the four corners of the partition with the mouse (as shown in Figure 3-12 below) to observe whether the light points are overlapped (left click to zoom in, right click to zoom out, hold left key to drag). If the LEDs are slightly overlapped, appropriately reduce the focus value to make the image slightly clearer.
c.If the Area value is too small under the current aperture and cannot be adjusted properly, lower the aperture value and continue with steps a & b. If the saturation under the current aperture is low, increase the aperture value, and continue with steps a & b.
